Use Concourse CI to automate Azure and AzureStack - Chapter 1 - The Basic Setup
This Chapter will focus on:
- getting a base Concourse System using Docker
- create and run a basic test pipeline
- get az-cli container up and running
This is the Base Setup we will use for the upcoming chapters where we create :
- Customized Tasks
- ARM Jobs
- some other cool Stuff for AzureStack
What, Concourse ?
Concourse is a CI/CD Pipeline that was developed with ease of use in Mind. Other than in well-known CI/CD Tools, it DOES NOT install plugins or agents. Concourse runs Tasks in OCI Compatible Containers. All in and output´s of Jobs are resources, and are defined by a Type. Based on the Resource Type, concourse will detect Version Changes of the resources. Concourse comes with a view built-in-types like git and S3, but you can very easy integrate you own Types.
read more about Concourse at Concourse-CI
First things first
Create a Directory of your choice in my case Workshop, and cd into it Before we start with our first pipeline, we need to get concourse up and running. The easiest way to get started with concourse is using docker. Concourse-CI provides a generic docker-compose file that will fit our needs for that course.
download the file
linux/OSX users simply enter
wget https://concourse-ci.org/docker-compose.ymlif you are running Windows, set docker desktop to linux Containers and run
Invoke-Webrequest https://concourse-ci.org/docker-compose.yml -OutFile docker-compose.ymlrun the container(s)
Once the file is downloaded, we start Concourse with docker-compose up ( in attached mode ) that will load the required containers and start concourse with the web-instance running on 8080. If you want to run on a different Port, check the docker-compose.yml
docker-compose up
Download the CLI
Now that we have concourse up and running, we download the fly cli commandline for concourse. therefore, we use the browser to browse to http://localhost:8080
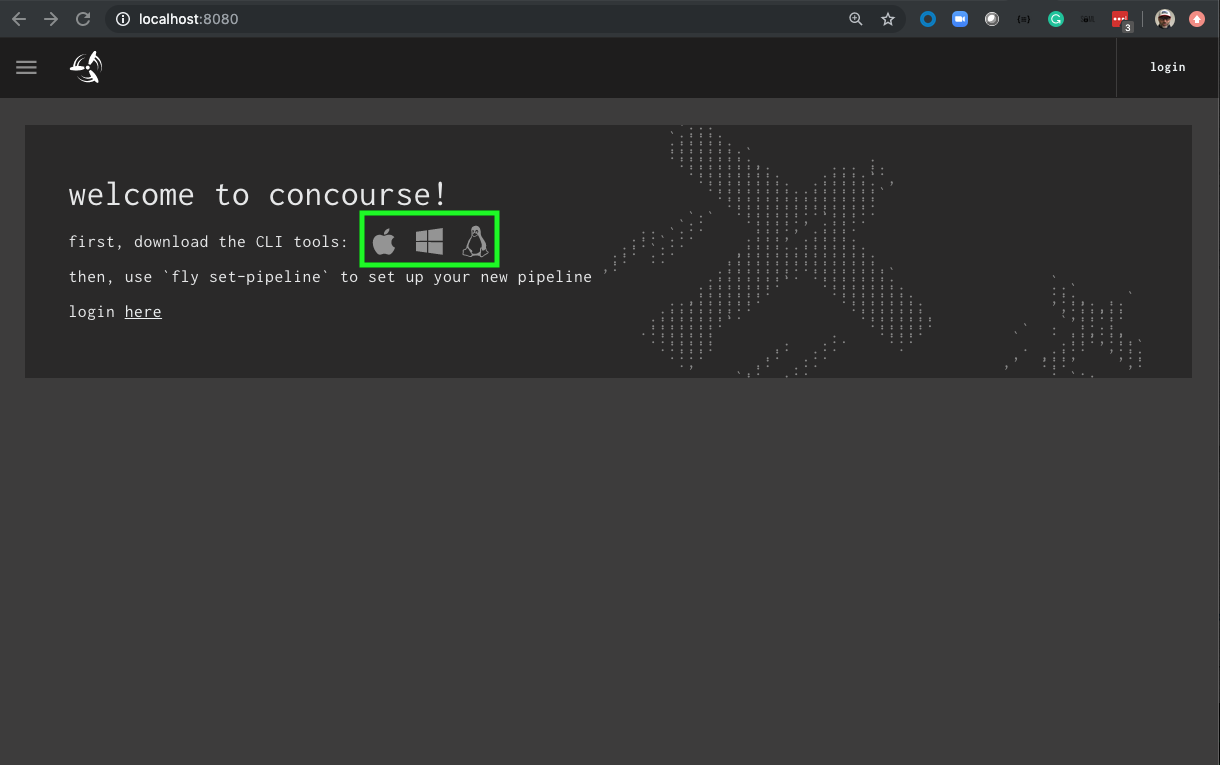
Click on the Icon for your Operating System to Download the fly cli to your computer Copy the fly cli into your path
Connect to Concourse
Open a new Shell ( Powershell, Bash ) to start with our first commands.
As we can target multiple instances of Concourse, we first need to target our instance and log in.
therefore, we use fly -t «targetname» login -c «url» -b
fly -t docker login -c http://localhost:8080 -b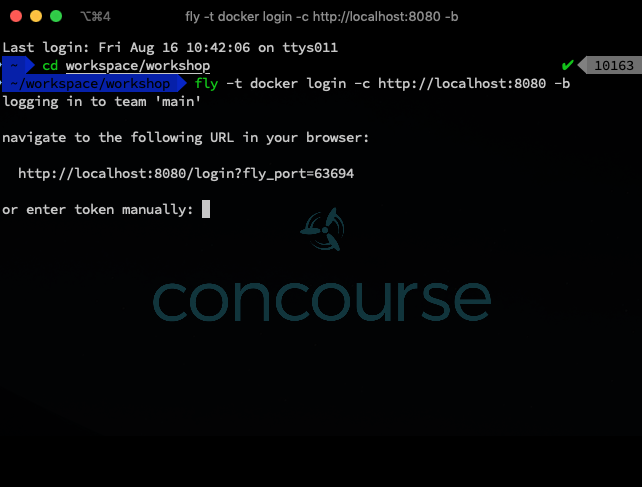
the -b switch will open a new Browser Window and point you to the login. Login with user: test, password: test.
This should log you in to concourse at cli and Browser Interface.
My First Pipeline
For our First pipeline, I created a template repository on Github. go to azurestack-concourse-tasks-template, and click on the Use this template button.

Github will ask you for a Repository name, choose azcli-concourse. Once the repository is created, clone into the repository from commandline, eg git clone https://github.com/youruser/azcli-concourse.git
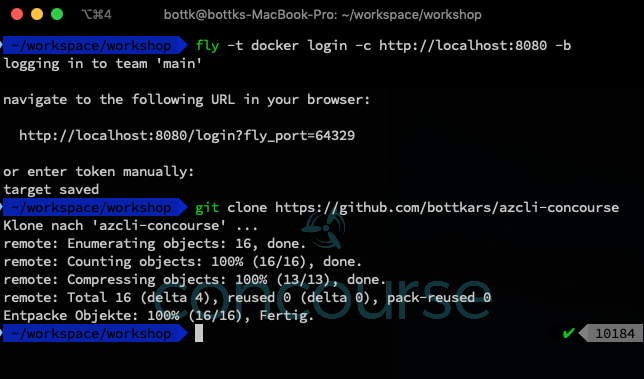
cd into the directory you just cloned.
you will find yml files in that directory. open the parameter.yml file
azcli-concourse-uri: <your github repo>replace the *
have a look at 01-azcli-pipeline.yml
---
# example tasks
resources:
- name: azcli-concourse
  type: git
  icon: github-circle
  source:
    uri: ((azcli-concourse-uri))
    branch: master

- name: az-cli-image
  icon: azure
  type: docker-image
  source:
    repository: microsoft/azure-cli

jobs:
- name: test-azcli
  plan:
  - get: acli-concourse
    trigger: true
  - get: az-cli-image
    trigger: true
  - task: test-azcli
    image: az-cli-image
    file: azcli-concourse/tasks/test-task.yml

---
this is our first pipeline. it has 2 resources configured:
- azcli-concourse, a git resource that hold´s our tasks
- az-cli-image, a docker image that contains the az cli
Now tha we have edited the Parameter to point to our github repo, we can load the pipeline into concourse
fly -t docker set-pipeline -p azurestack -c 01-azcli-pipeline.yml -l parameters.yml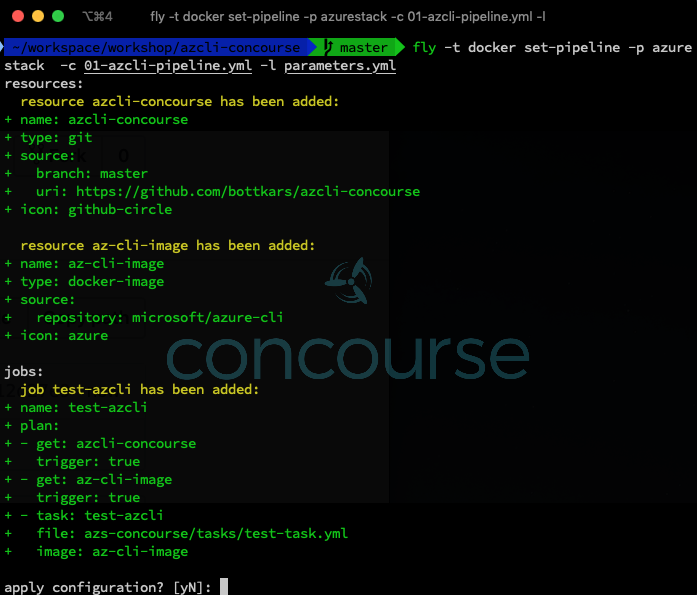
Apply the Pipeline configuration by confirming with y
No go Back to the Web Interface. You should now see the pipeline named azurestack in a paused state
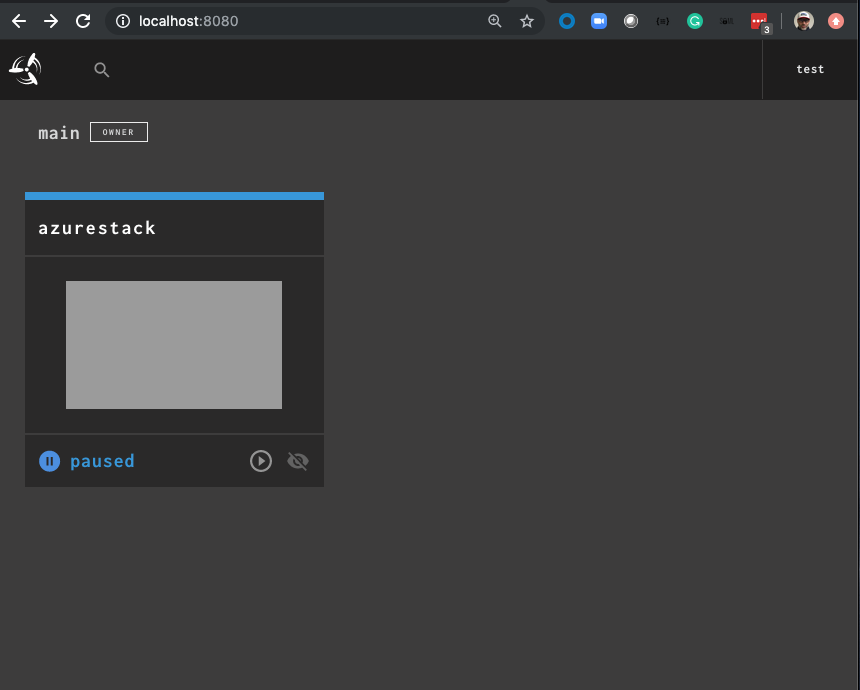
Hover over the Blue box and click on the name azurestack. this should open the pipeline view.
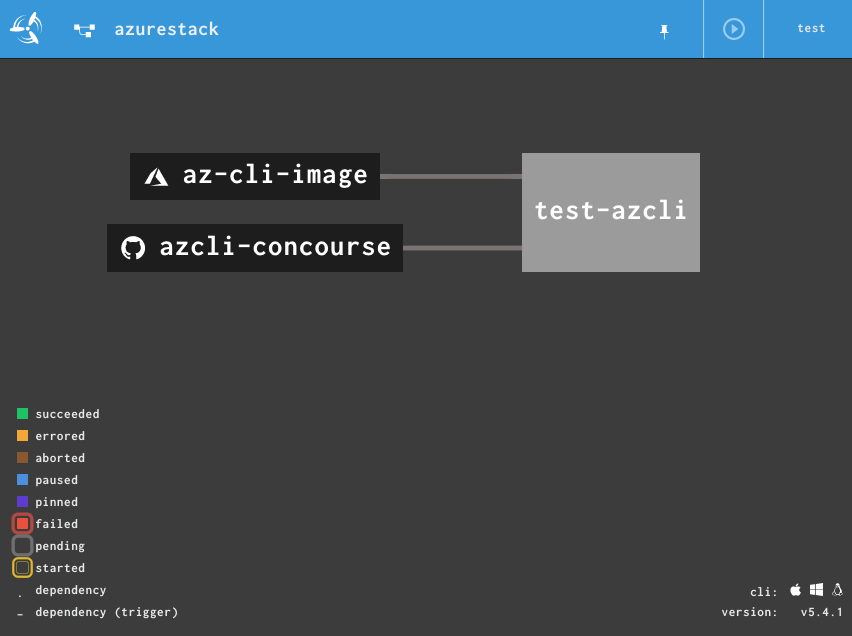
You can see the 2 resources az-cli-image and azcli-concourse
if you click on each of them, you will notice they have been checked successfully

concourse will automatically check for new version of the resources ( git fetch, docker, s3 ..), and this could trigger a build in a Pipeline.
Now, it is time to unpause our Pipeline. In the web-interface, click on the start button. Then click on the test-azcli job and manually trigger the build by pushing the + button.
this will trigger you build….
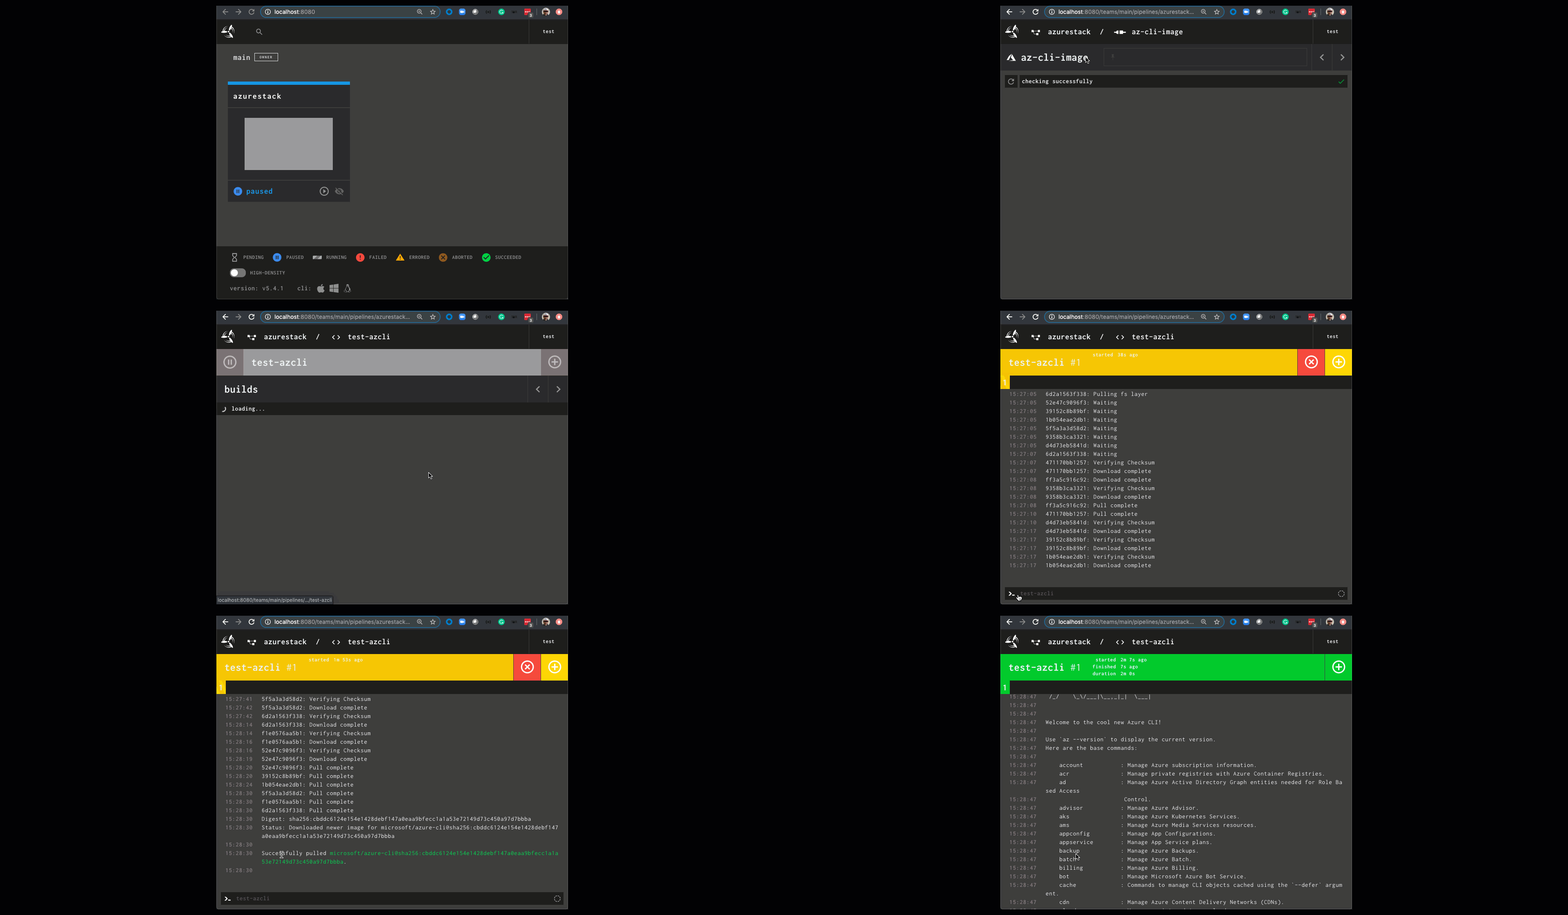
Now, as we have setup the first Pipeline, take you time to explore the fly cli and read on concourse-ci.org before we start with customized tasks an jobs.
