Use Concourse CI to automate Azure and AzureStack - Chapter 2 - Configuring Cloud Endpoints
This Chapter will we will create out first Task that let us
- make the git resource secure
- connect to the Cloud (Azure/AzureStack )
- template a task
- create Jobs
Going Secure from now
Before we edit our parameter file, it is time to go secure from now.
Note: In this example we put credentials in parameter files. we secure them with private Github repositories. Concourse, however, allows to integrate with Vaults like Hashi Vault or Credhub. We will do that once we move from the docker based setup to a Cloud Based setup.
- create a ssh key for your Pipeline Repository
- Set the repository to private
- add the ssh key to Deploy Keys
- set the ssh key for the github resource
to create an ssh key for your Pipeline Repository, run
ssh-keygen -t rsa -b 4096 -C mypipeline@github.com -f ~/.ssh/azcli_demo_key -N ""Set the repository to private Browse to your Github Repository. Go to the settings in the upper right:

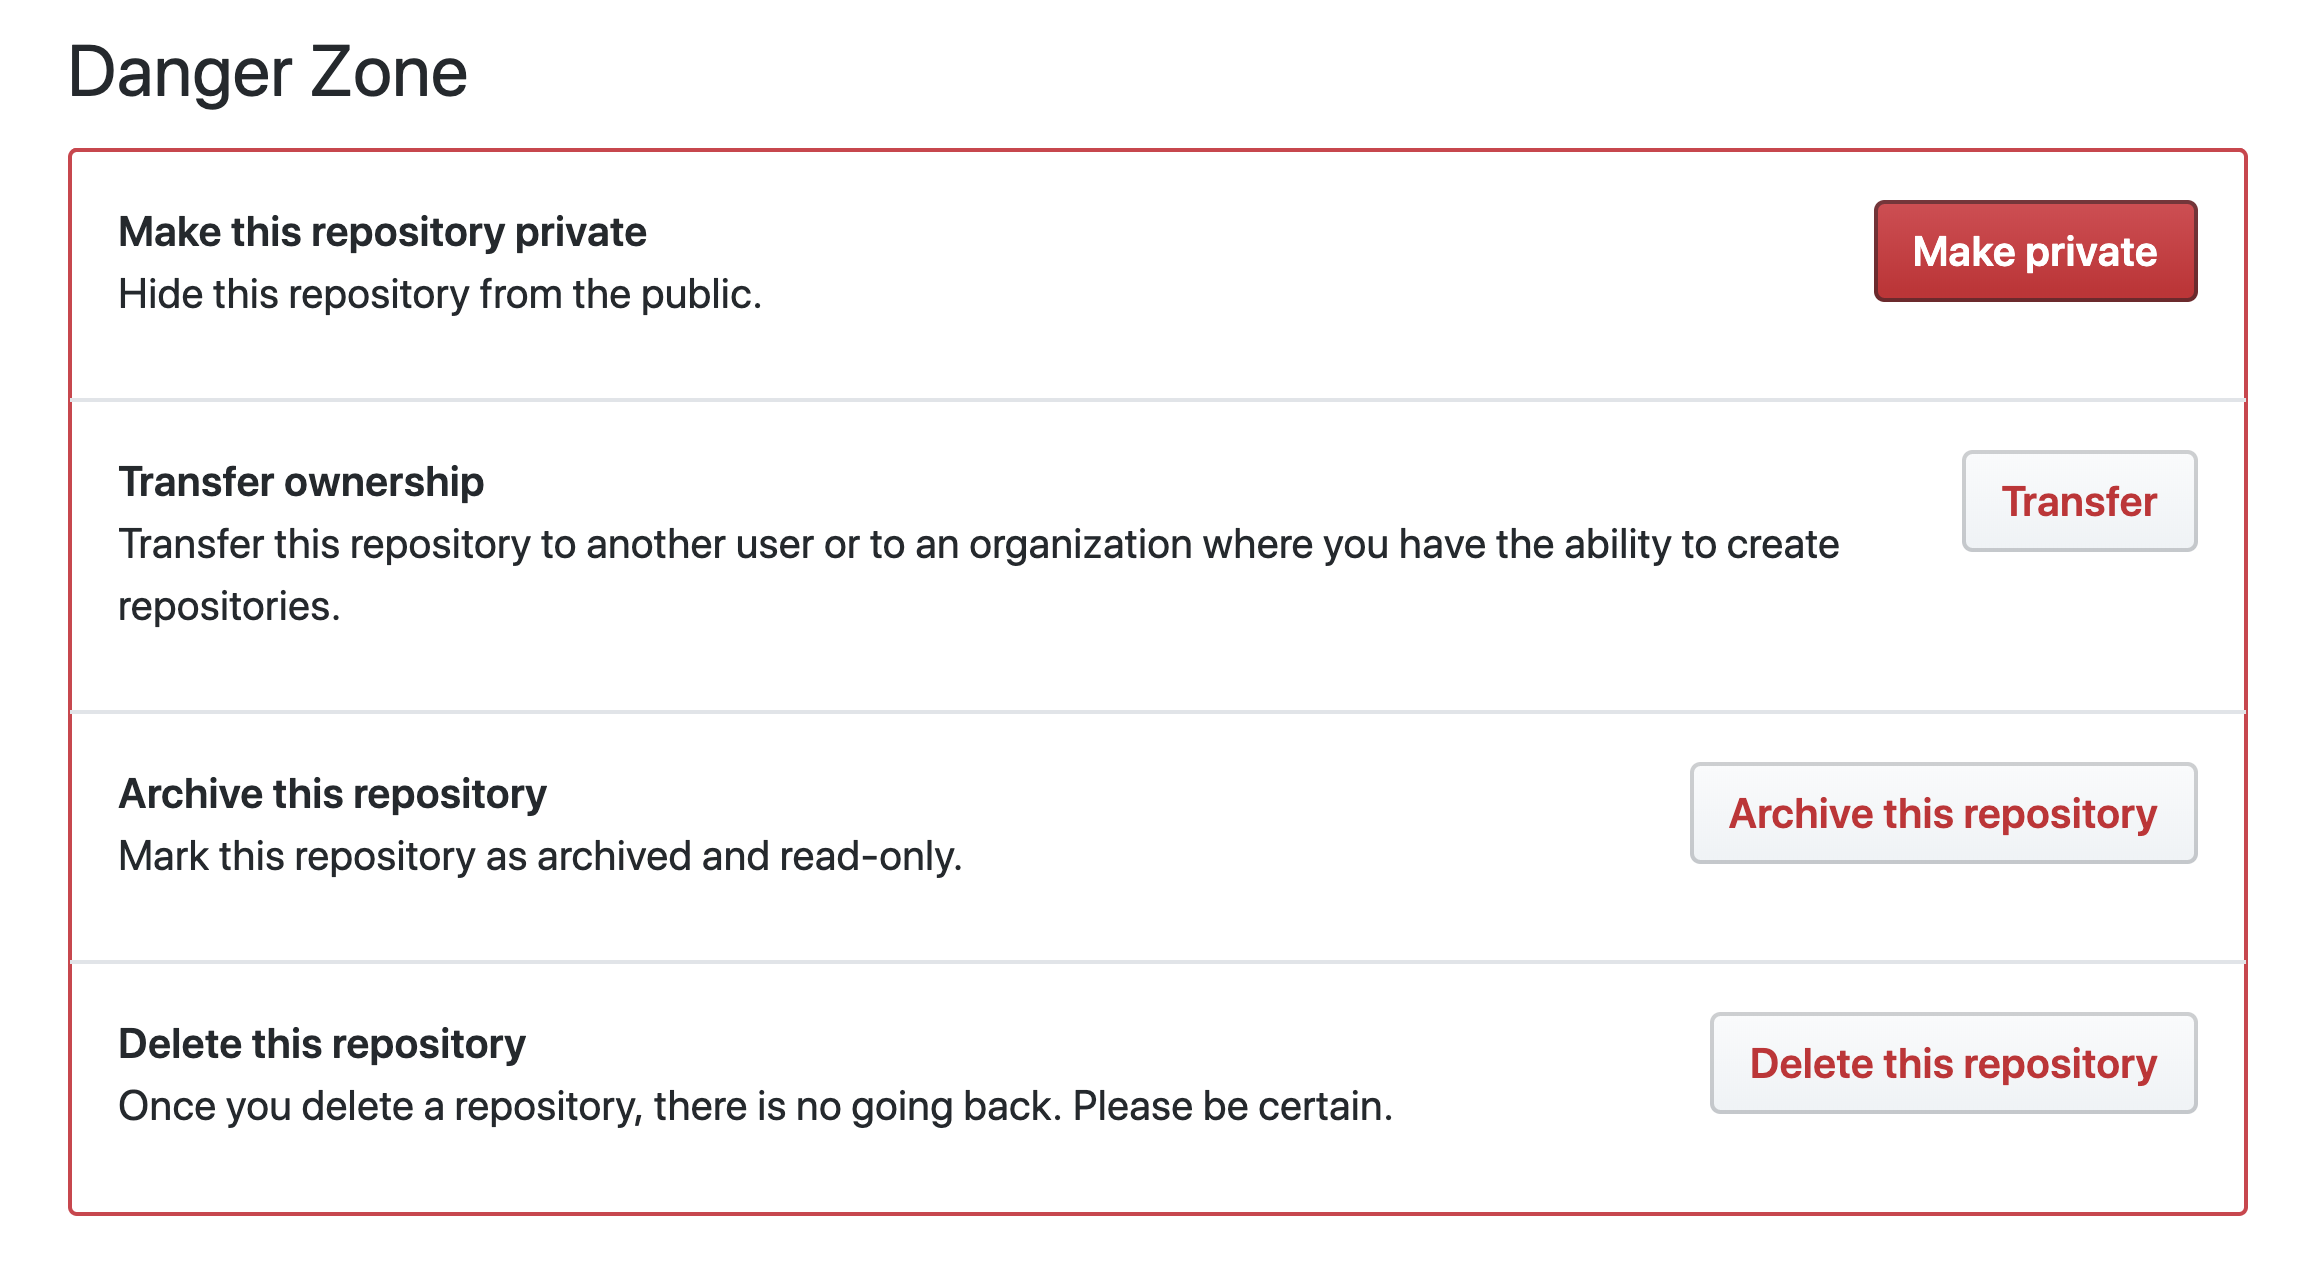
scroll down to the “Danger Zone” and click on make Private:
Add the Deploy key Go to the Deploy key Section on the right
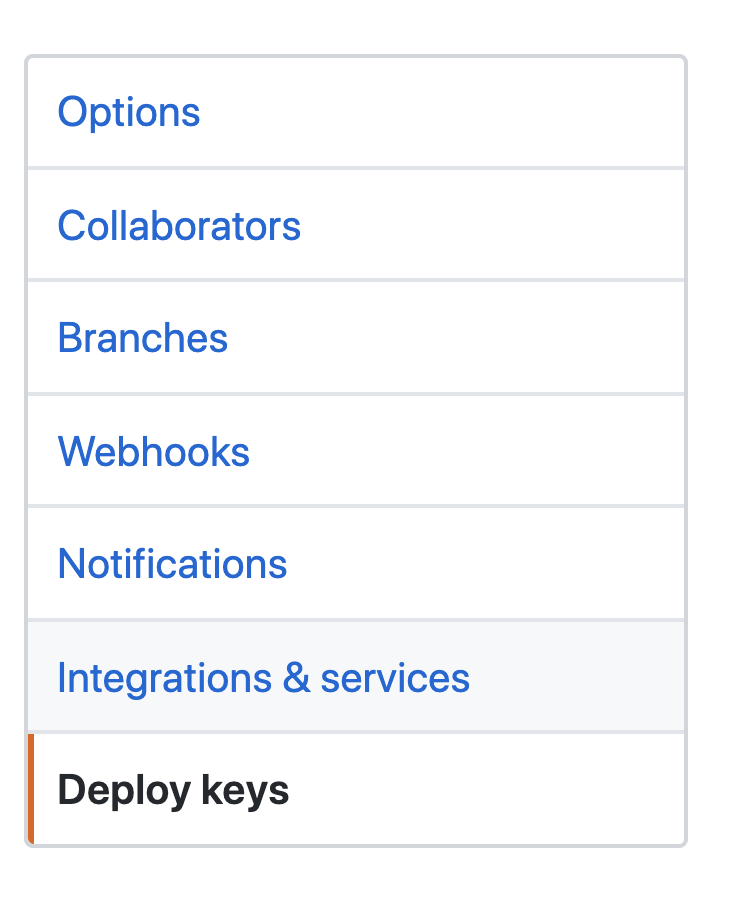
Click on Add Key to add you ssh public key created in step 1. Insert you Key Check allow Write access and click Add Key
We will change the Pipeline Git Resource later accordingly.
commit the current files
Before we edit the pipeline, it is time to commit you work.
use vscode or git cli to do so:
git add tasks/basic-task.yml
git commit -a -m "added basic-task"
git push
adding the ssh key to the Pipeline
if you look at you pipeline in the Browser now, you will notify the Git resource changed to orange.
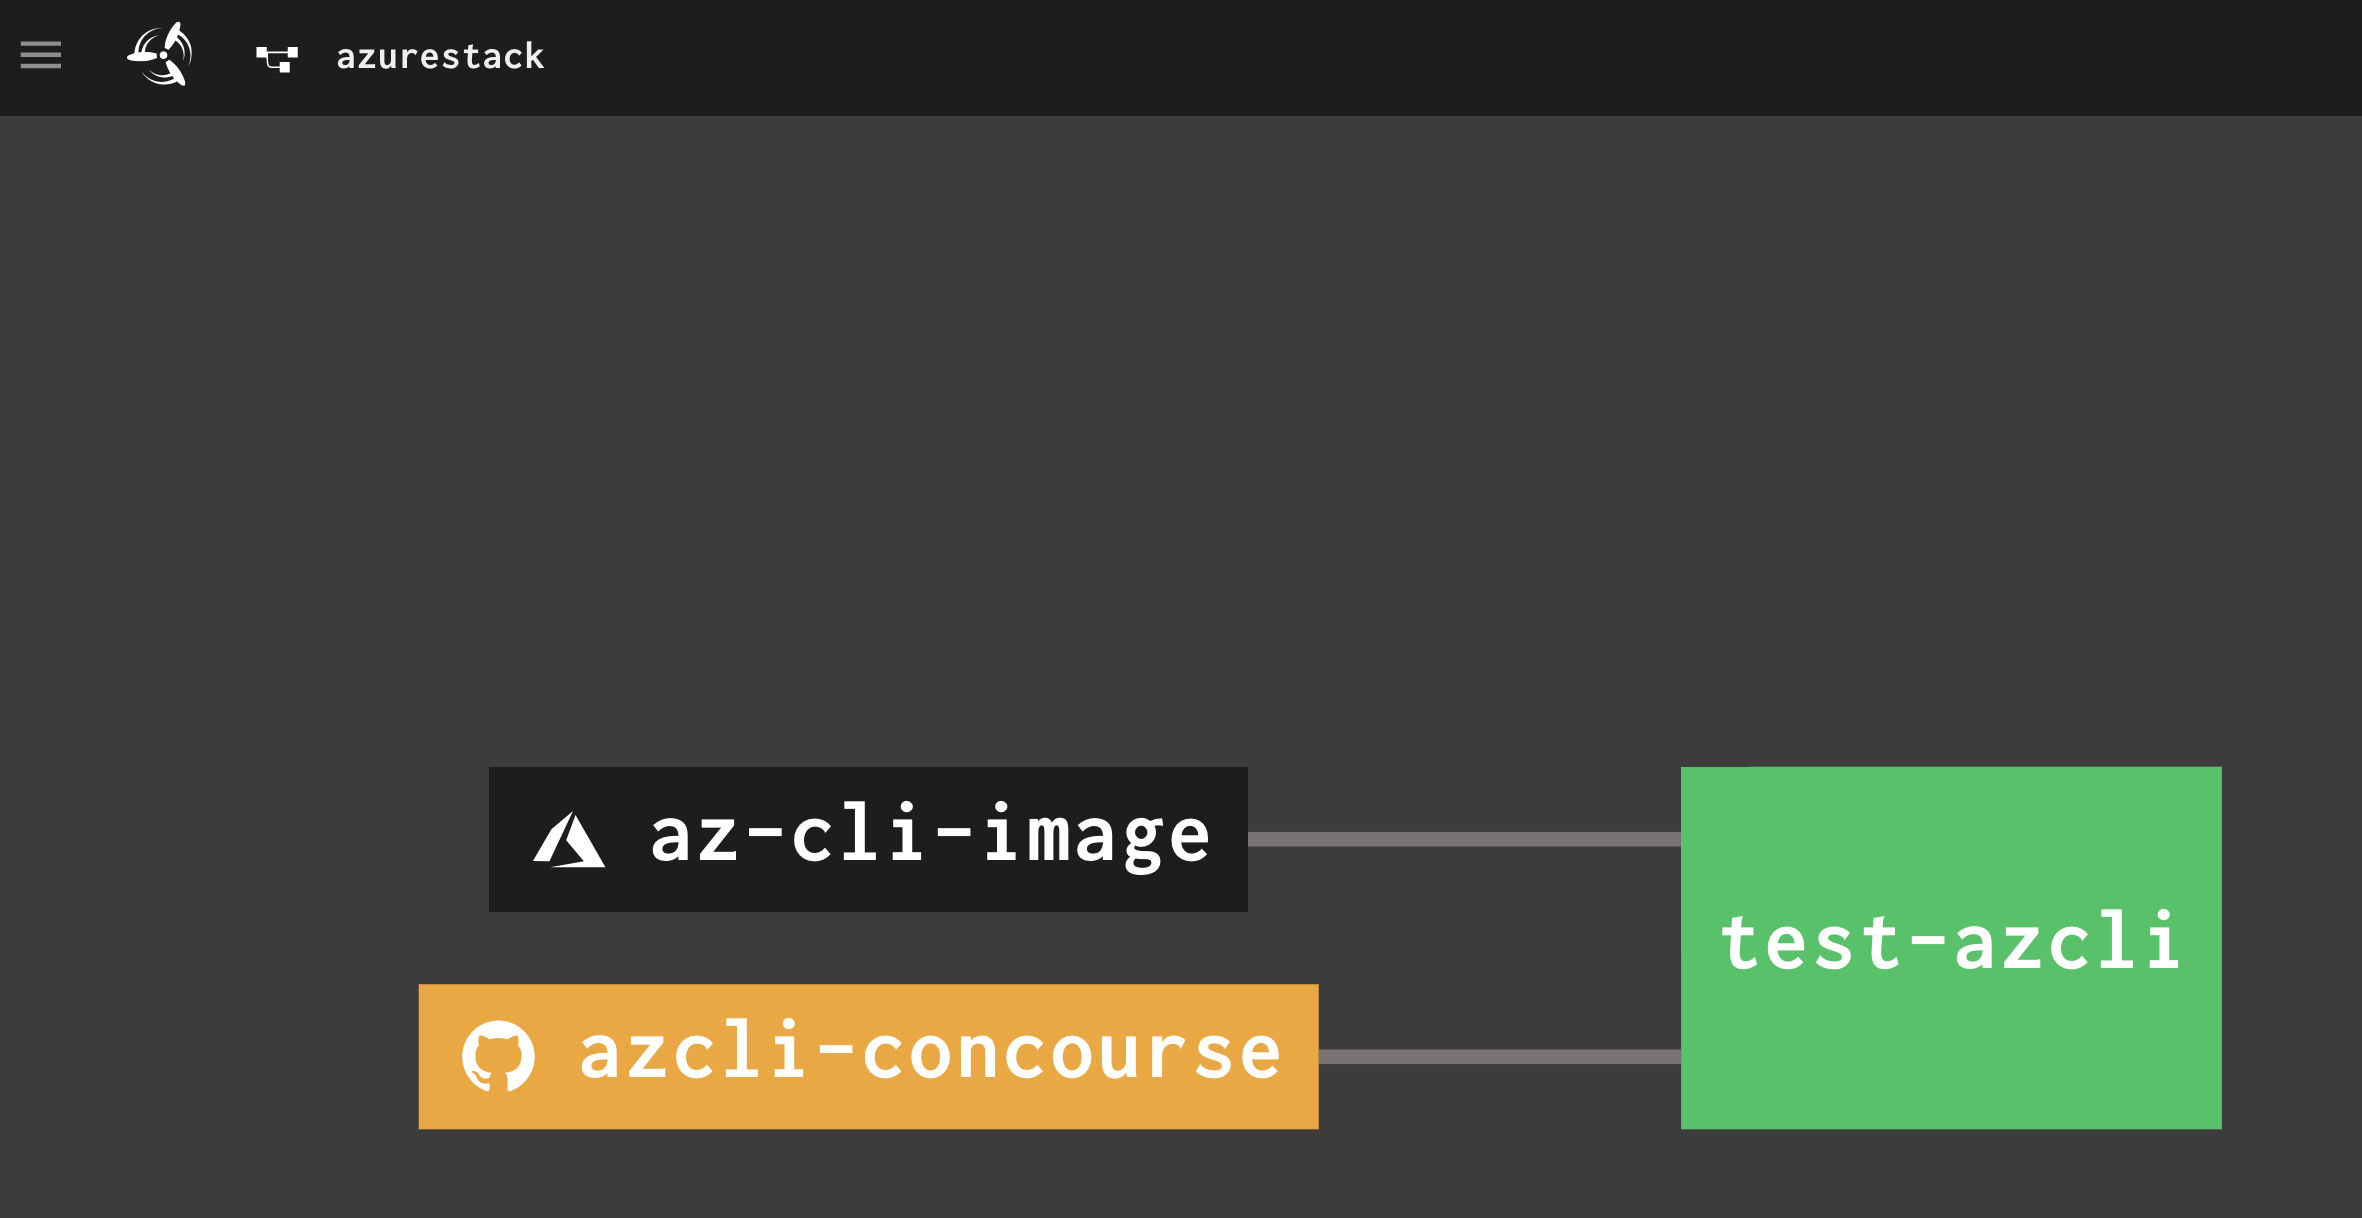
this is expected behavior, as it can no longe check the private git repository for changes. click on the orange resource to the the failure detail.
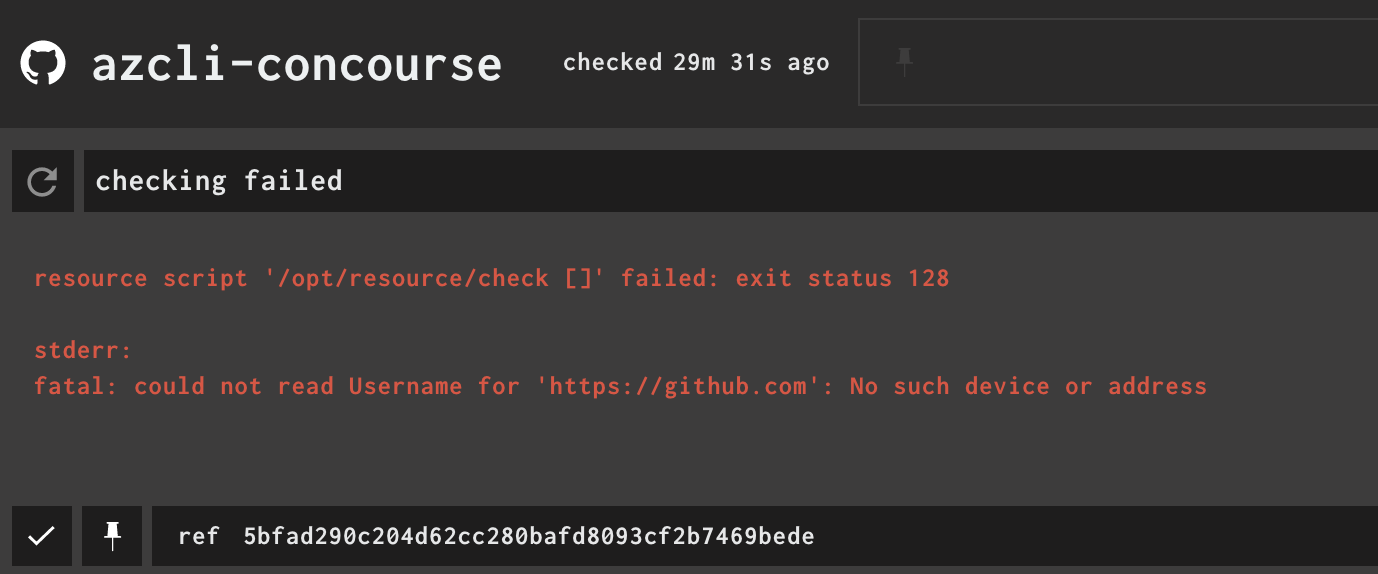
Now, edit you Pipeline to include your ssh Private Key
change your git resource to
- add private_key: ((azcli-concourse.private_key))
- change uri: ((azcli-concourse-uri)) to uri: ((azcli-concourse.uri)) this will allow us to use a name.parameter map for ease of use
- name: azcli-concourse
  type: git
  icon: github-circle
  source:
    uri: ((azcli-concourse.uri))
    branch: master
    private_key: ((azcli-concourse.private_key))
Now, we edit you Parameter File
change your parameters file to:
azcli-concourse:
  uri: git@github.com:<<you username here>>/azcli-concourse
  private_key: |
    -----BEGIN OPENSSH PRIVATE KEY-----
    << your private key here >>
-----END OPENSSH PRIVATE KEY------ this will use ssh authentication for git
- creates a variable map for azcli concourse that we can access with name.parameter from concourse
Now that we have edited the Pipeline and Parameters file to include the changes, we can update the Pipeline on Concourse using
fly -t docker set-pipeline -p azurestack -c 01-azcli-pipeline.yml -l parameters.yml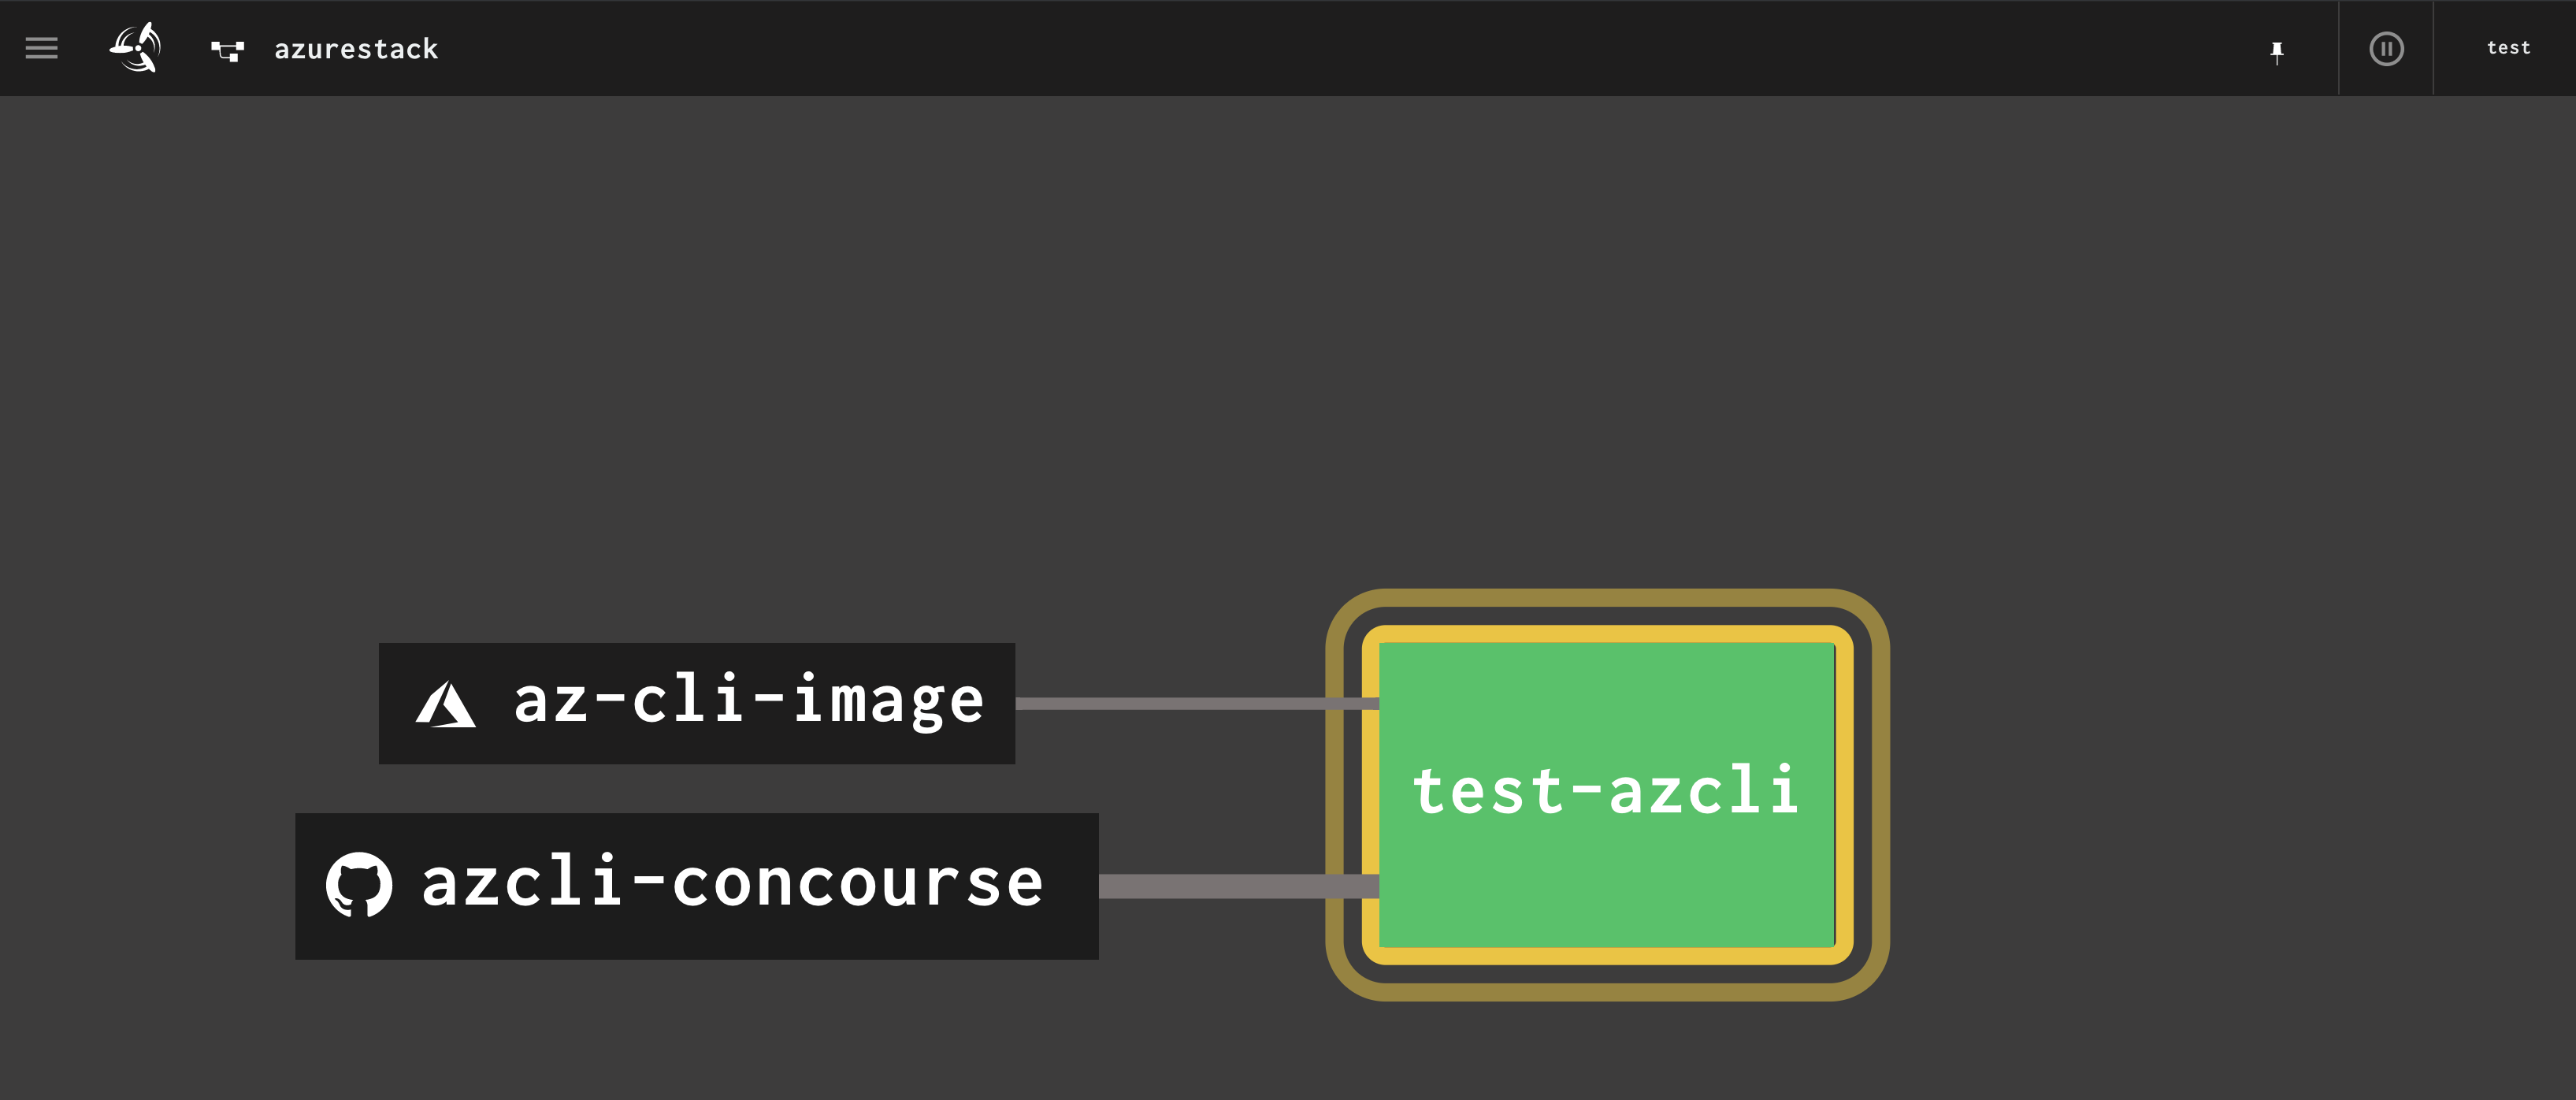
creating a new Task
in the Previous chapter we use the test-task that i Provided in the github template. From now on, we are writing the Tasks on our own …
let us start with the “base” task, that basically will test if we can connect to the cloud (s). in this post i explained how to use azcli for AzureSTack with Docker. we will basically meme the same for our basic task From now on i recommend using Visual Studio Code for all edit´s You might want to install the Concourse Pipeline Extension
the basic task
create a new file ./tasks/basic-task.yml
ad the following lines to the file:
platform: linux

params.
  PROFILE:
  CLOUD:
  CA_CERT:
  ENDPOINT_RESOURCE_MANAGER:
  VAULT_DNS:
  SUFFIX_STORAGE_ENDPOINT:
  AZURE_TENANT_ID:
  AZURE_CLIENT_ID:
  AZURE_CLIENT_SECRET:
  AZURE_SUBSCRIPTION_ID:
  AZURE_CLI_CA_PATH:
the platform parameter identifies the platform stack ( worker type ) to run on.
The parameters section contains the (possible) Parameters we can provide to our task. We will provide the Parameters later from our Pipeline As we are going to define a Custom Cloud Profile in case of AzureStack, this will also define our custom endpoints
For good reasons, you should NOT put any default values in here.
Next, we add a “run” section. The run section is essence is the Script to be executed. if the script exits with a failure code, the Build Task will considered failed.
add the following lines to the task file:
run:
  path: bash
  args:
  - "-c"
  - |
    set -eux
    case ${CLOUD} in

    AzureStackUser)
        if [[ -z "${CA_CERT}" ]]
        then
            echo "no Custom root ca cert provided"
        else
            echo "${CA_CERT}" >> ${AZURE_CLI_CA_PATH}
        fi
        az cloud register -n ${CLOUD} \
        --endpoint-resource-manager ${ENDPOINT_RESOURCE_MANAGER} \
        --suffix-storage-endpoint ${SUFFIX_STORAGE_ENDPOINT} \
        --suffix-keyvault-dns ${VAULT_DNS} \
        --profile ${PROFILE}
        ;;

    *)
        echo "Nothing to do here"
        ;;
    esac

    az cloud set -n ${CLOUD}
    az cloud list --output table
    set +x
    az login --service-principal \
     -u ${AZURE_CLIENT_ID} \
     -p ${AZURE_CLIENT_SECRET} \
     --tenant ${AZURE_TENANT_ID}
    set -eux
    az account set --subscription ${AZURE_SUBSCRIPTION_ID}
This will evaluate the cloud type and load the appropriate Profile. For Azure Stack, we create a Cloud Profile with the endpoints passed from the Parameters.
Adding the Task to the Pipeline
Now we are adding the task to the Pipeline.
instead of edition the pipeline file, copy the existing file into 02-azcli-pipeline.yml. this is one of my personal tip’s. whenever i make additions to a pipeline file, I copy it into a new one. this one is for people having an AzureStack. For Azure, continue reading only up to the Azure Section
now, add the following to 02-azcli-pipeline.yml
- name: basic-azcli
  plan:
  - get: azcli-concourse
    trigger: true
  - get: az-cli-image
    trigger: true
  - task: basic-azcli
    image: az-cli-image
    file: azcli-concourse/tasks/basic-task.yml
    params:
      CLOUD: ((asdk.cloud))
      CA_CERT: ((asdk.ca_cert))
      PROFILE: ((asdk.profile))
      ENDPOINT_RESOURCE_MANAGER: ((asdk.endpoint_resource_manager))
      VAULT_DNS:  ((asdk.vault_dns))
      SUFFIX_STORAGE_ENDPOINT: ((asdk.suffix_storage_endpoint))
      AZURE_TENANT_ID: ((asdk.tenant_id))
      AZURE_CLIENT_ID: ((asdk.client_id))
      AZURE_CLIENT_SECRET: ((asdk.client_secret))
      AZURE_SUBSCRIPTION_ID: ((asdk.subscription_id))
      AZURE_CLI_CA_PATH: "/usr/local/lib/python3.6/site-packages/certifi/cacert.pem"
Note that in my example, i prefix the parameter Variable´s with asdk, as i am going to maintain multiple Azurestack´s in my Parameter File. This again is for ease of use
edit the Parameter file
add the following lines to your parameter file:
asdk:
  tenant_id: "your tenant id"
  client_id: "your client id"
  client_secret: "your very secret secret"
  subscription_id: "your subscription id"
  endpoint_resource_manager: "https://management.local.azurestack.external"
  vault_dns: ".vault.local.azurestack.external"
  suffix_storage_endpoint: "local.azurestack.external"
  cloud: AzureStackUser
  profile: "2019-03-01-hybrid"
  azure_cli_ca_path: "/usr/local/lib/python3.6/site-packages/certifi/cacert.pem"
  ca_cert: |
    -----BEGIN CERTIFICATE-----
    <<you root ca>>
    -----END CERTIFICATE-----
save the file.
load the updated pipeline
fly -t docker set-pipeline -p azurestack -c 02-azcli-pipeline.yml -l parameters.ymlYour Pipeline should now have a Second Task:
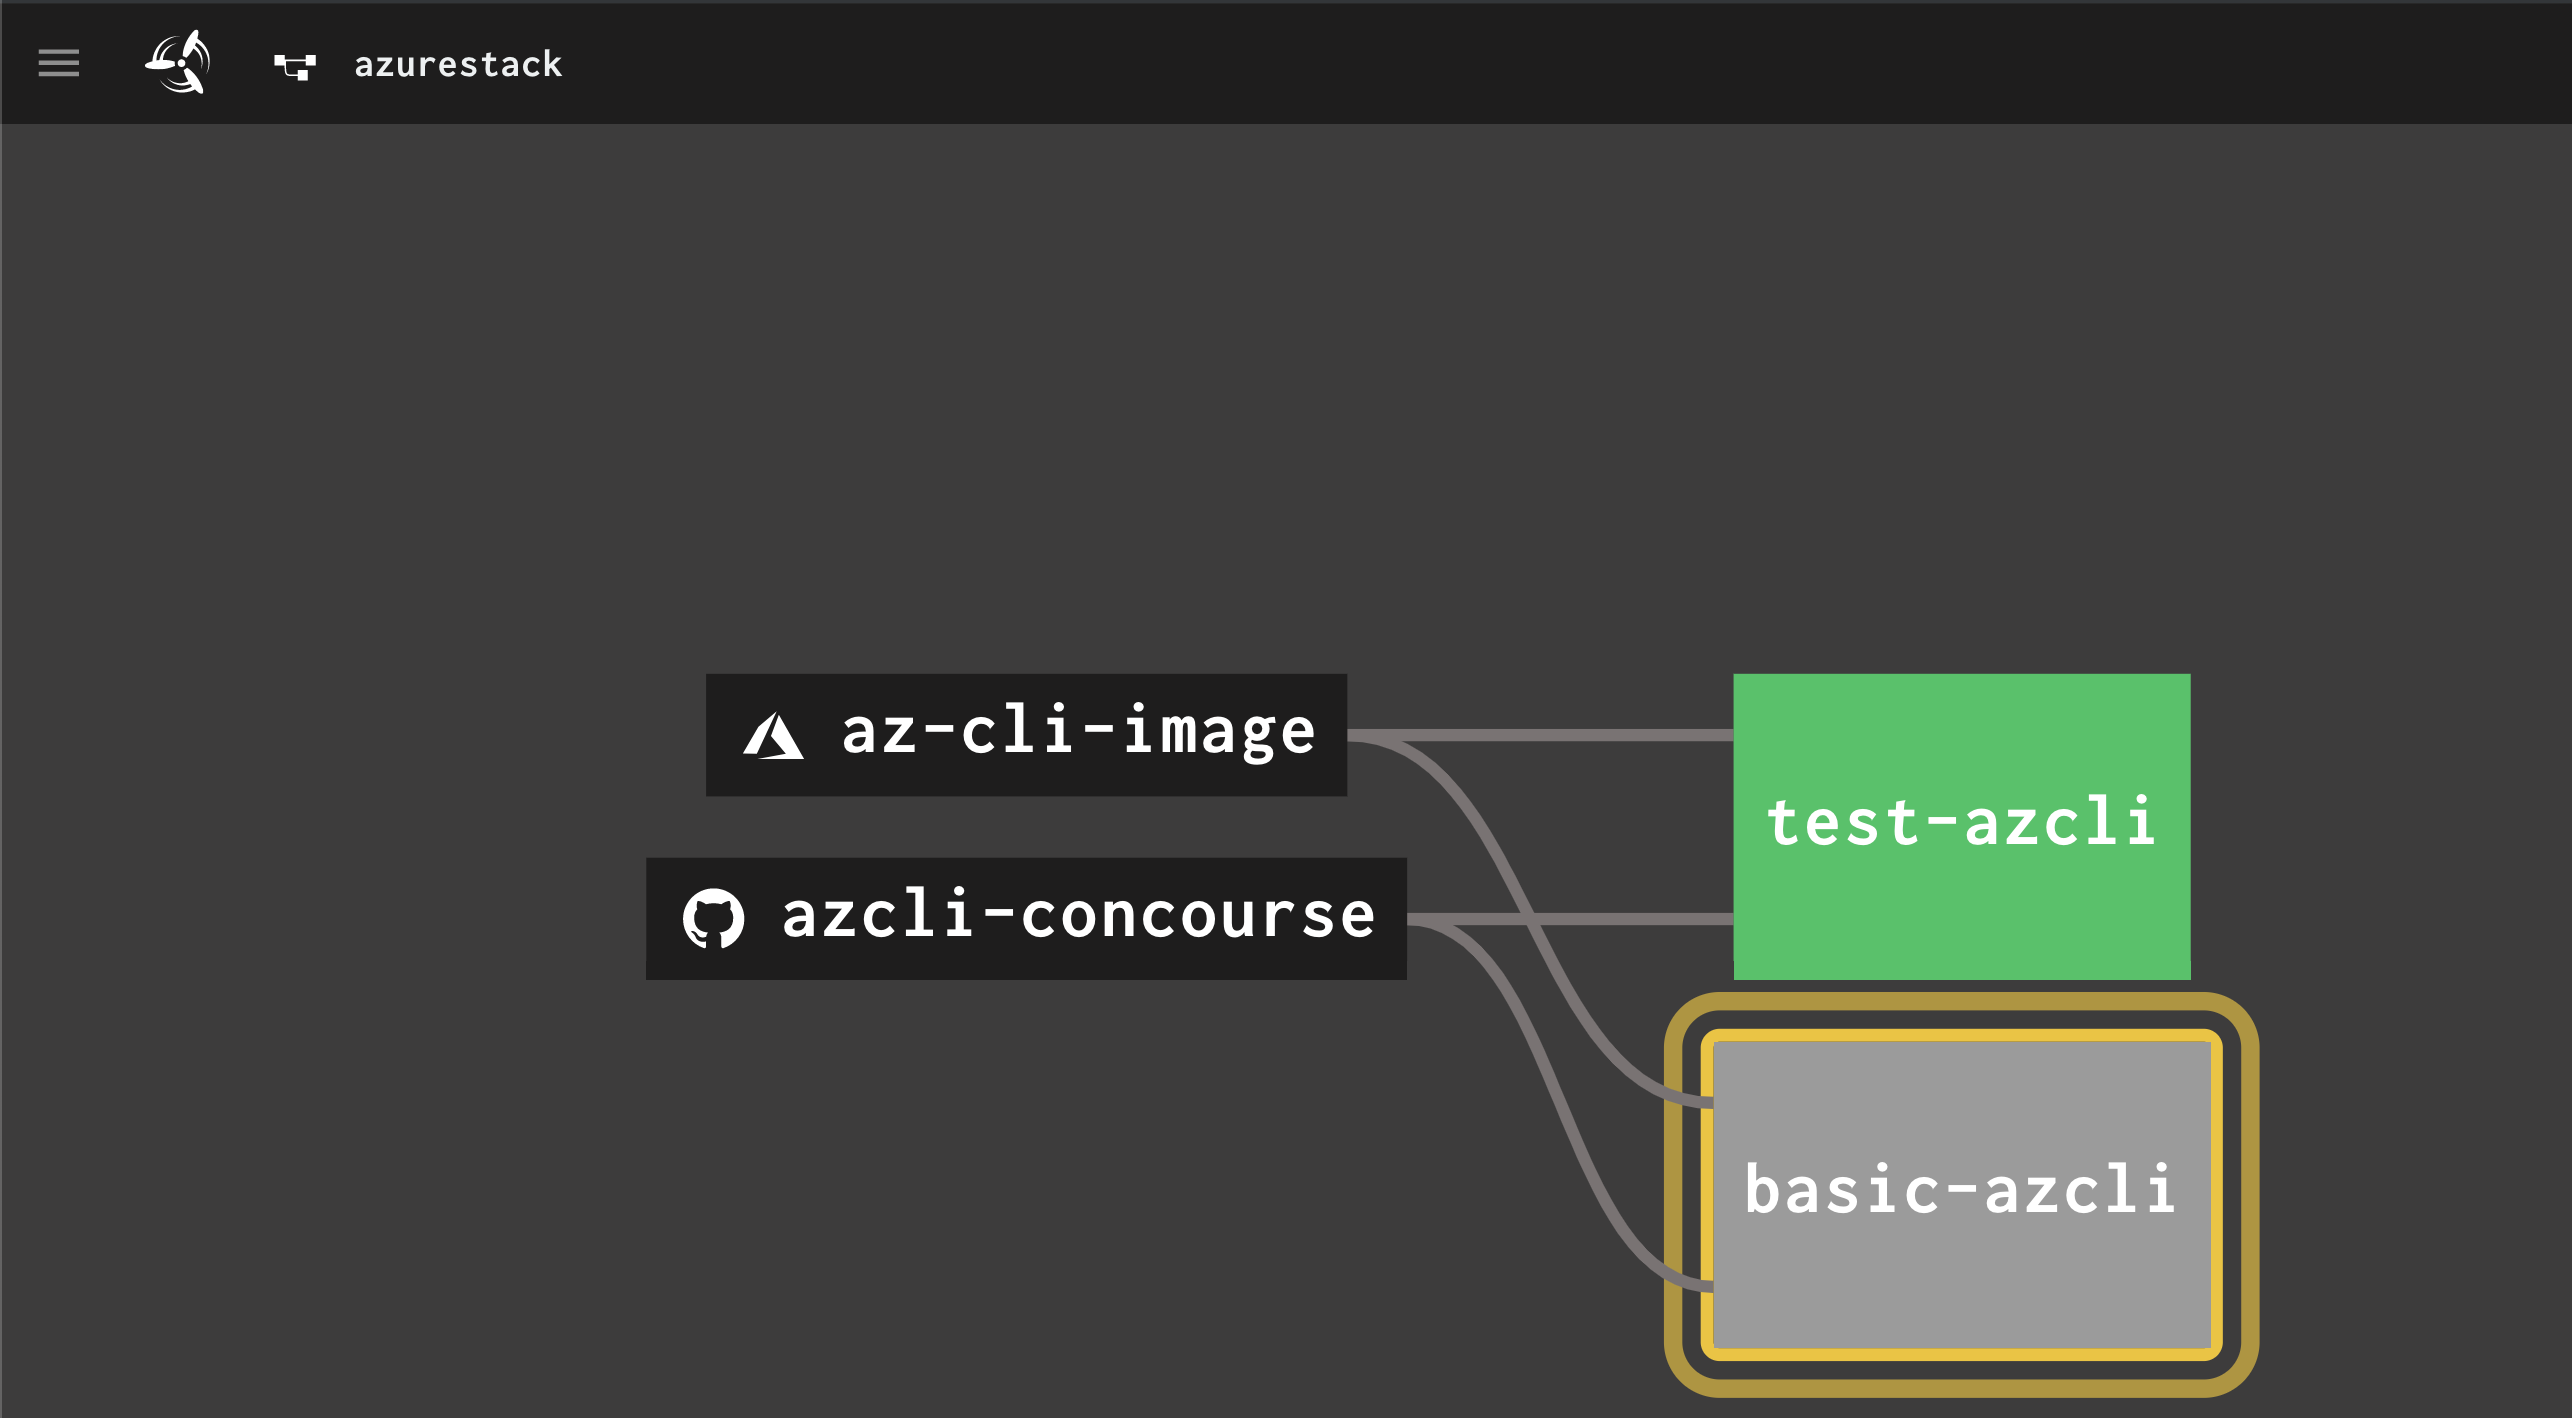
The task should start a new build automatically.
see the build log by clicking in the task build:

Excellent, now you has you first task to an Azure Stack
Adding Azure
copy the existing pipeline file into 03-azcli-pipeline.yml.
Using the basic Task, we add a new Job but with fewer Parameters to 03-azcli-pipeline.yml:
- name: basic-azcli-azure
  plan:
  - get: azcli-concourse
    trigger: true
  - get: az-cli-image
    trigger: true
  - task: basic-azcli-azure
    image: az-cli-image
    file: azcli-concourse/tasks/basic-task.yml
    params:
      CLOUD: ((azure.cloud))
      PROFILE: ((azure.profile))
      AZURE_TENANT_ID: ((azure.tenant_id))
      AZURE_CLIENT_ID: ((azure.client_id))
      AZURE_CLIENT_SECRET: ((azure.client_secret))
      AZURE_SUBSCRIPTION_ID: ((azure.subscription_id))
edit the Parameter file to include the azure parameters:
azure:
  tenant_id: "your tenant id"
  client_id: "your client id"
  client_secret: "your very secret secret"
  subscription_id: "your subscription id"
  cloud: AzureCloud
  profile: "latest"
save the files
Load the updated pipeline
we load Version 3 of our Pipeline now with
fly -t docker set-pipeline -p azurestack -c 03-azcli-pipeline.yml -l parameters.yml This should start the new Job :
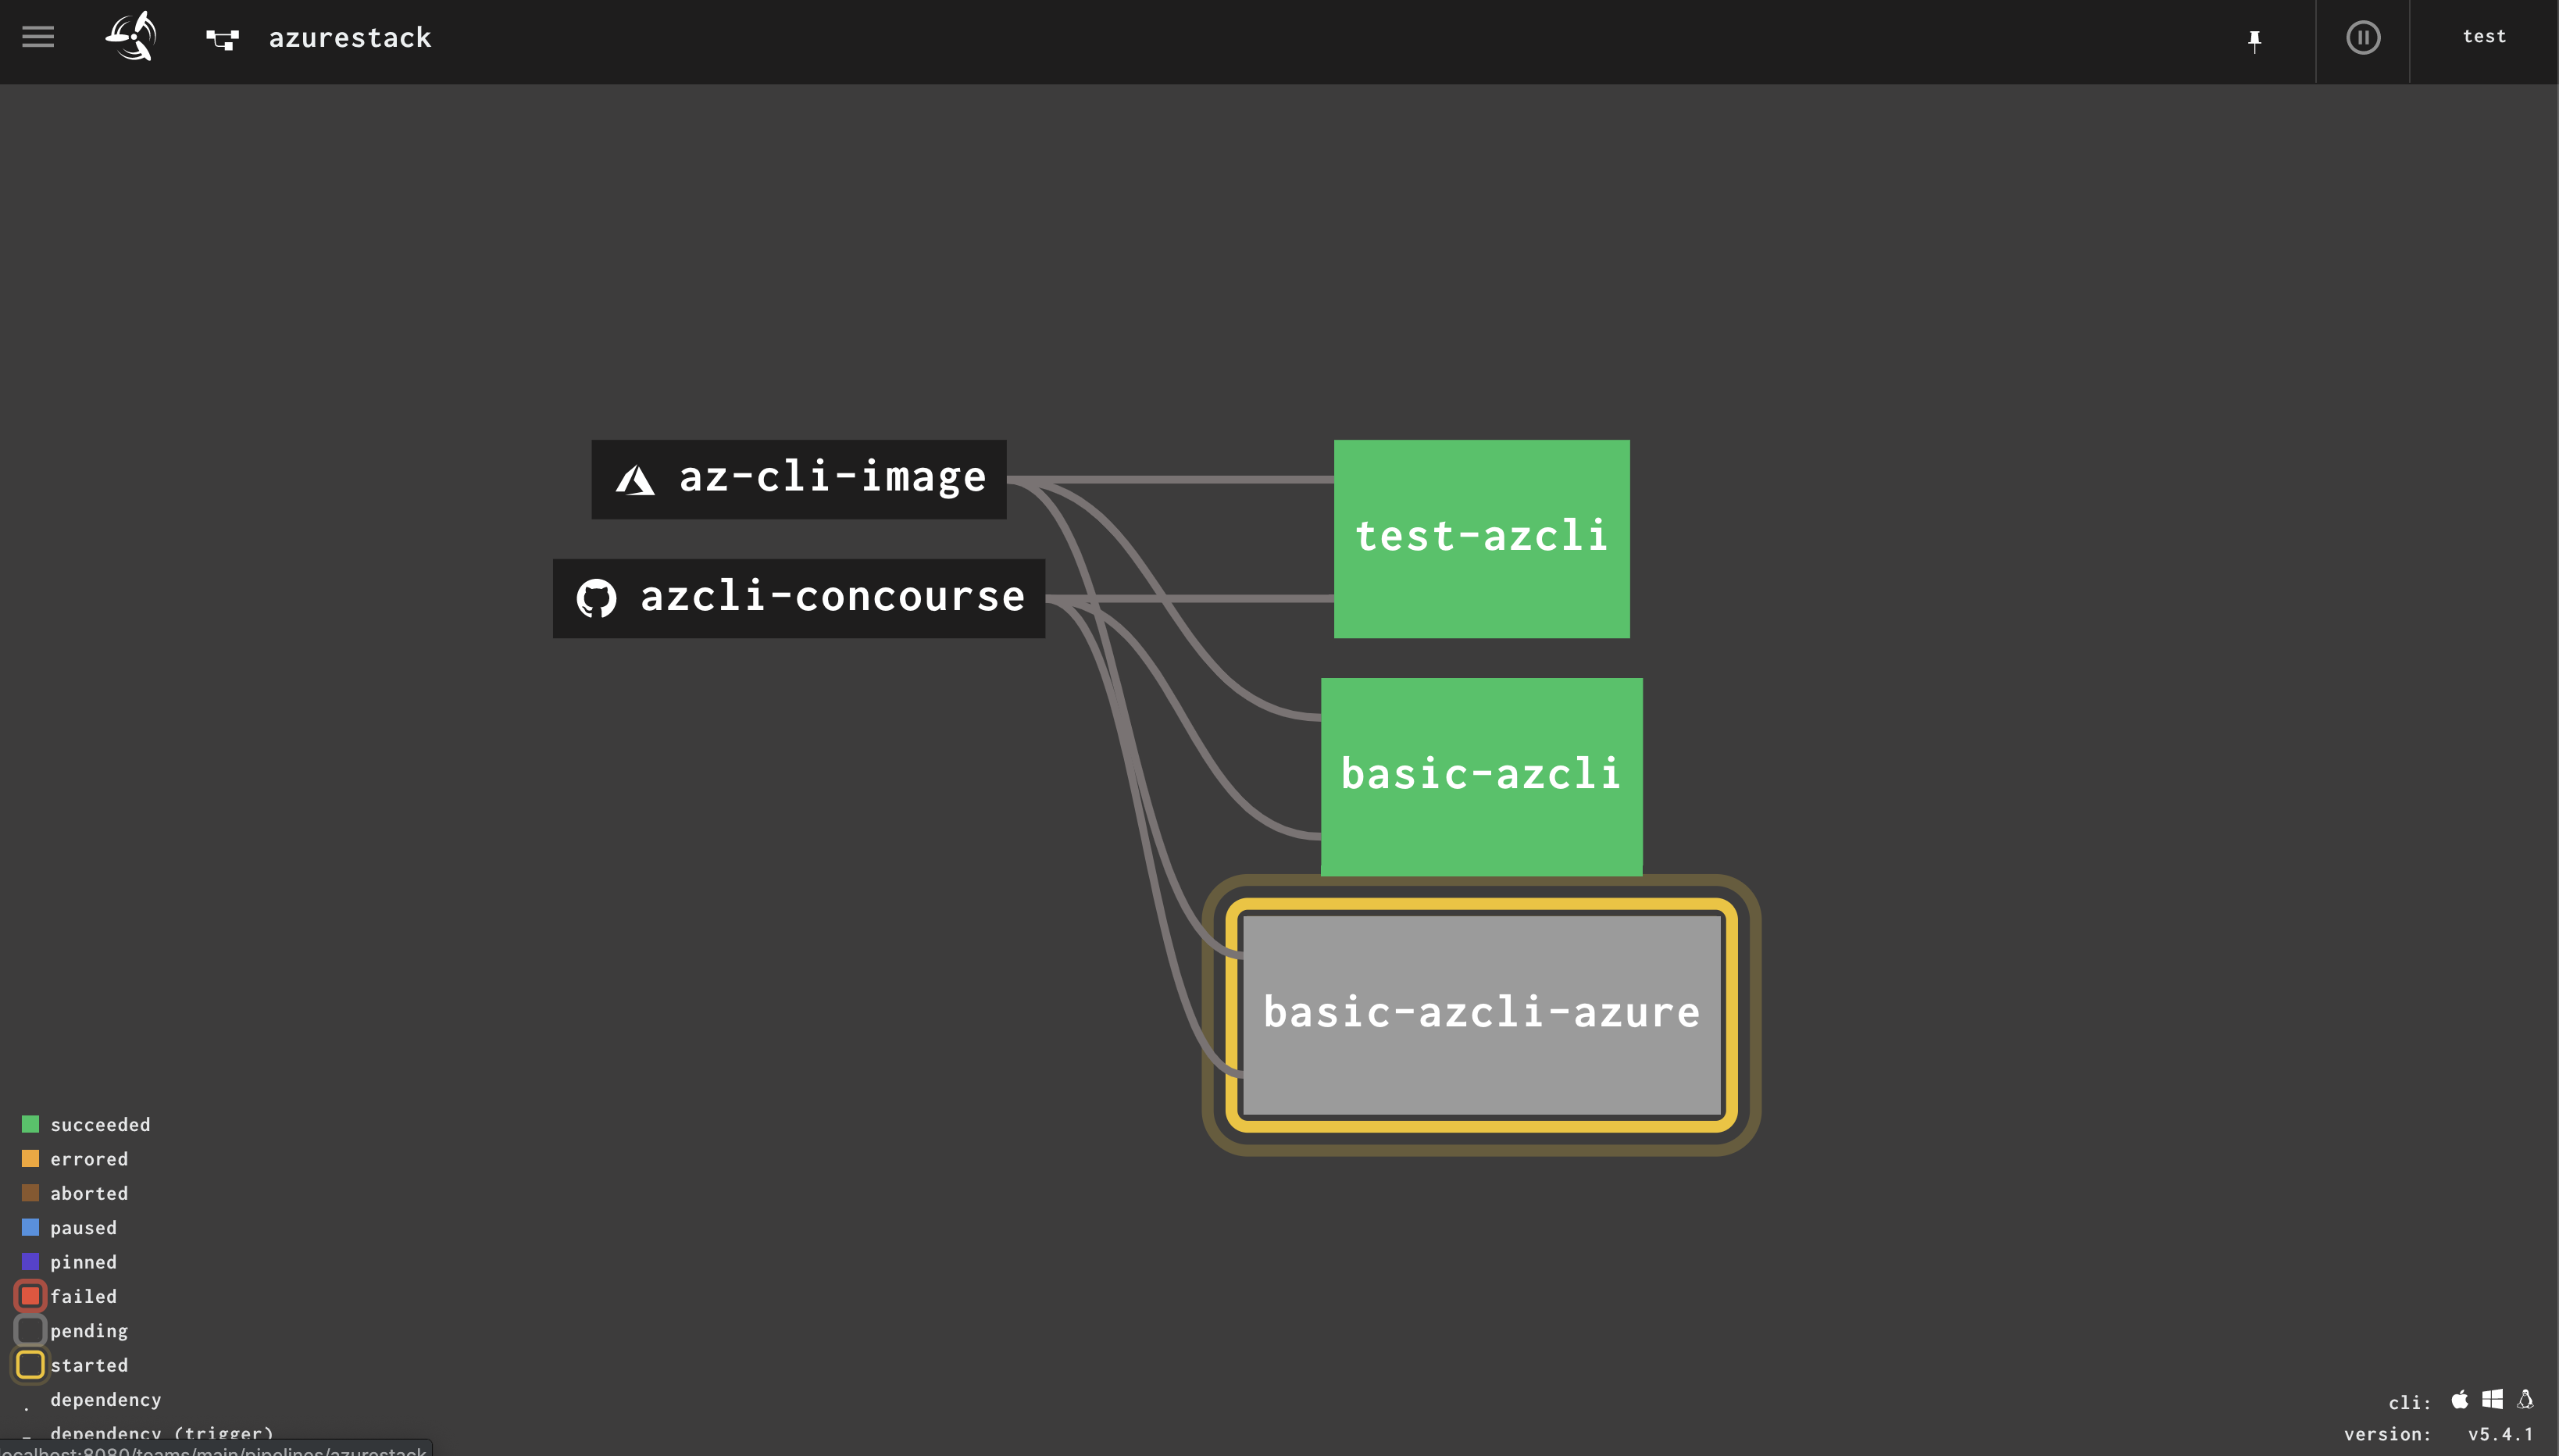
Now we have successfully setup Connections to Azure And AzureStack´s In the next Chapter, we will write some tasks to work with Azure/Stack resources, and create some yaml templates to make our Pipelines more Handy and start working with triggers
