Deploying PowerProtect Datamanager (PPDM) to vSphere using govc and Powershell
when it comes to deploy Powerprotect Datamanger, we have a variety of options, for example
- Terraform
- Ansible
- OVA deployment from vCenter UI
- Saltstack
- bash / Concourse just to name few. In this Post I focus on a Powershell Deployment leveraging mware govc and my PPDM Powershell Module. Other Method´s will follow here over the next Couple of Days . . .
Requirements
Before we start the deployment, we need to check that we have
- govc >= 0.23 insalled from Github Releases installed in a path as govc
- my Powershell modules ( minimum : 0.19.6.2 ) for PPDM installed from PPDM Powershellusing
install-module PPDM-pwsh -MinimumVersion 0.19.6.2Step 1: Connecting to vSphere using govc
From a Powershell, we first need to connect to our vSphere Virtual Center By using the following code, we can securely create a connection:
# Set the Basic Parameter
$env:GOVC_URL="vcsa1.home.labbuildr.com"    # replace ith your vCenter
$env:GOVC_INSECURE="true"                   # allow untrusted certs
$env:GOVC_DATASTORE="vsanDatastore"         # set the default Datastore
# read Password
$username = Read-Host -Prompt "Please Enter Virtual Center Username default (Administrator@vsphere.local)"
If(-not($username)){$username = "Administrator@vsphere.local"}
$SecurePassword = Read-Host -Prompt "Enter Password for user $username" -AsSecureString
$Credentials = New-Object System.Management.Automation.PSCredential($username, $Securepassword)
#Set Username and Password in environment
$env:GOVC_USERNAME=$($Credentials.GetNetworkCredential().username)
$env:GOVC_PASSWORD=$($Credentials.GetNetworkCredential().password)
govc about
Step 2: deploying Powerprotect Datamanager ova using govc from Powershell
- Requirement: download the latest Powerprotect DataManager from DELLEMC Support ( login required )
first of all, we set our govc environment to have the Following Variables ( complete code snippet of step 2 below )
# Set the Basic Parameter
$env:GOVC_URL="vcsa1.home.labbuildr.com"                # replace ith your vCenter
$env:GOVC_INSECURE="true"                               # allow untrusted certs
$env:GOVC_DATASTORE="vsanDatastore"                     # set the default Datastore
$ovapath="$HOME/Downloads/dellemc-ppdm-sw-19.6.0-3.ova" # the Path to your OVA File
$env:GOVC_FOLDER='/home_dc/vm/labbuildr_vms'            # the vm Folder in your vCenter where the Machine can be found
$env:GOVC_VM='ppdm_demo'                                # the vm Name
$env:GOVC_HOST='e200-n4.home.labbuildr.com'             # The target ESXi Host or ClusterNodefor Deployment
$env:GOVC_RESOURCE_POOL='mgmt_vms'                      # The Optional Resource Pool
We then can connect to our vSphere Environment:
# read Password
$username = Read-Host -Prompt "Please Enter Virtual Center Username default (Administrator@vsphere.local)"
If(-not($username)){$username = "Administrator@vsphere.local"}
$SecurePassword = Read-Host -Prompt "Enter Password for user $username" -AsSecureString
$Credentials = New-Object System.Management.Automation.PSCredential($username, $Securepassword)
#Set Username and Password in environment
$env:GOVC_USERNAME=$($Credentials.GetNetworkCredential().username)
$env:GOVC_PASSWORD=$($Credentials.GetNetworkCredential().password)
govc about
then we need to import the Virtual Appliance Specification from the ova using govc import.spec the command would look like
$SPEC=govc import.spec $ovapath| ConvertFrom-JsonOnce we have the Configuration Data, we will change the vami keys in the “Property Mappings” to our desired Values
# edit your ip address
$SPEC.PropertyMapping[0].Key='vami.ip0.brs'
$SPEC.PropertyMapping[0].Value='100.250.1.123' # < your IP here
# Default Gateway
$SPEC.PropertyMapping[1].Key='vami.gateway.brs'
$SPEC.PropertyMapping[1].Value = "100.250.1.1" # < your Gateway here
# Subnet Mask
$SPEC.PropertyMapping[2].Key = "vami.netmask0.brs"
$SPEC.PropertyMapping[2].Value = "255.255.255.0" # < your Netmask here
# DNS Servers
$SPEC.PropertyMapping[3].Key = "vami.DNS.brs"
$SPEC.PropertyMapping[3].Value = "192.168.1.44" # < your DNS Server here
# you FQDN, make sure it is resolvable from above DNS
$SPEC.PropertyMapping[4].Key = "vami.fqdn.brs"
$SPEC.PropertyMapping[4].Value = "ppdmdemo.home.labbuidr.com" # < your fqdn here
Now we need to import the OVA using govc import.ova with the settings we just created:
$SPEC | ConvertTo-Json | Set-Content -Path spec.json
govc import.ova -name $env:GOVC_VM -options="./spec.json" $ovapath
And change to the Correct “VM Network” for ethernet-0
govc vm.network.change -net="VM Network" ethernet-0Now, we can Power on the vm using govc vm.power …
govc vm.power -on $env:GOVC_VM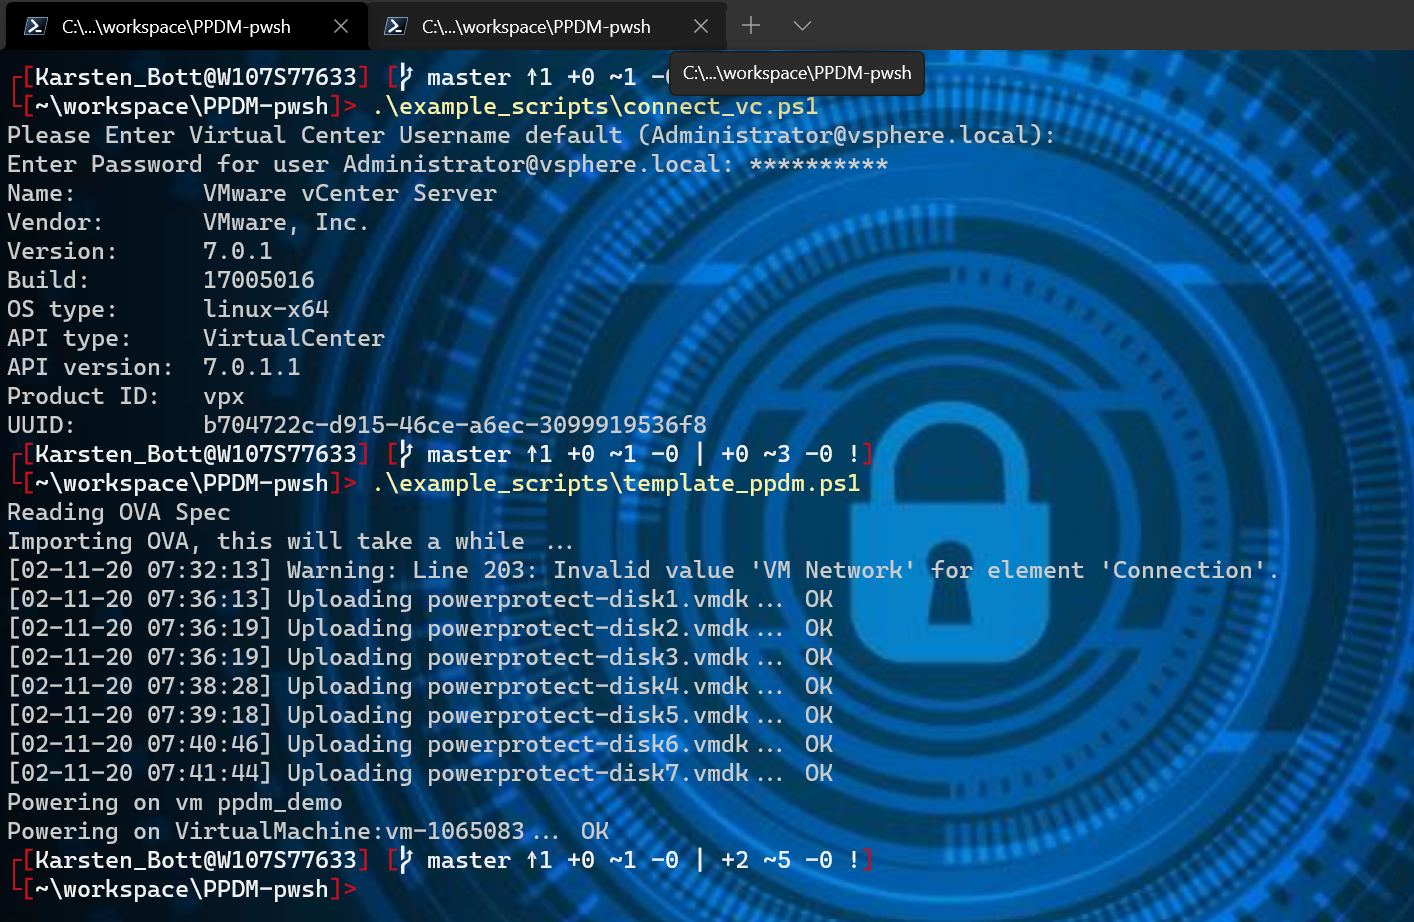
… and wait for the Powerprotect Datamanager Services to be up and running.
In an Automated Scenario, one could query the URL http://fqdn.of.ppdm:443/#/fresh until receiving a 200 ok message from the Webserver ( see below script listing)
Step 3: Configure PPDM using PPDM-pwsh
if not already node, load the Modules by
import-module PPDM-pwshThe first step is to connect to the PPDM API. You will be asked for for the username ad admin and Password of admin We will retrieve a Bearer Token from the API, that will be used automatically for Subsequent requests in the Current Powershell Session. PPDM-pwsh also will figure out your Powershell Version and therefore use different Methods to use non trusted certificates. ( -trustCert)
$API=Connect-PPDMapiEndpoint -PPDM_API_URI https://ppdm-demo.home.labbuildr.com -user -trustCertOnce connected, we need to Accept the EULA for PPDM by using
Approve-PPDMEulaThe next step is to configure PPDM. For that, we need to specify Timezone, NTP Server and the new Password(s) to get a list of timezones, run
Get-PPDMTimezonesIn our example, we use Europe/Berlin. Configuring the PPDM does only require 3 Parameters:
- Timezone
- Initial Password(s)
- a List of NTP Sever(s)
We can use a Single Powershell Command to start the COnfiguration Process:
Set-PPDMconfigurations -NTPservers 139.162.149.127 -Timezone "Europe/Berlin" -admin_Password 'Password123!'
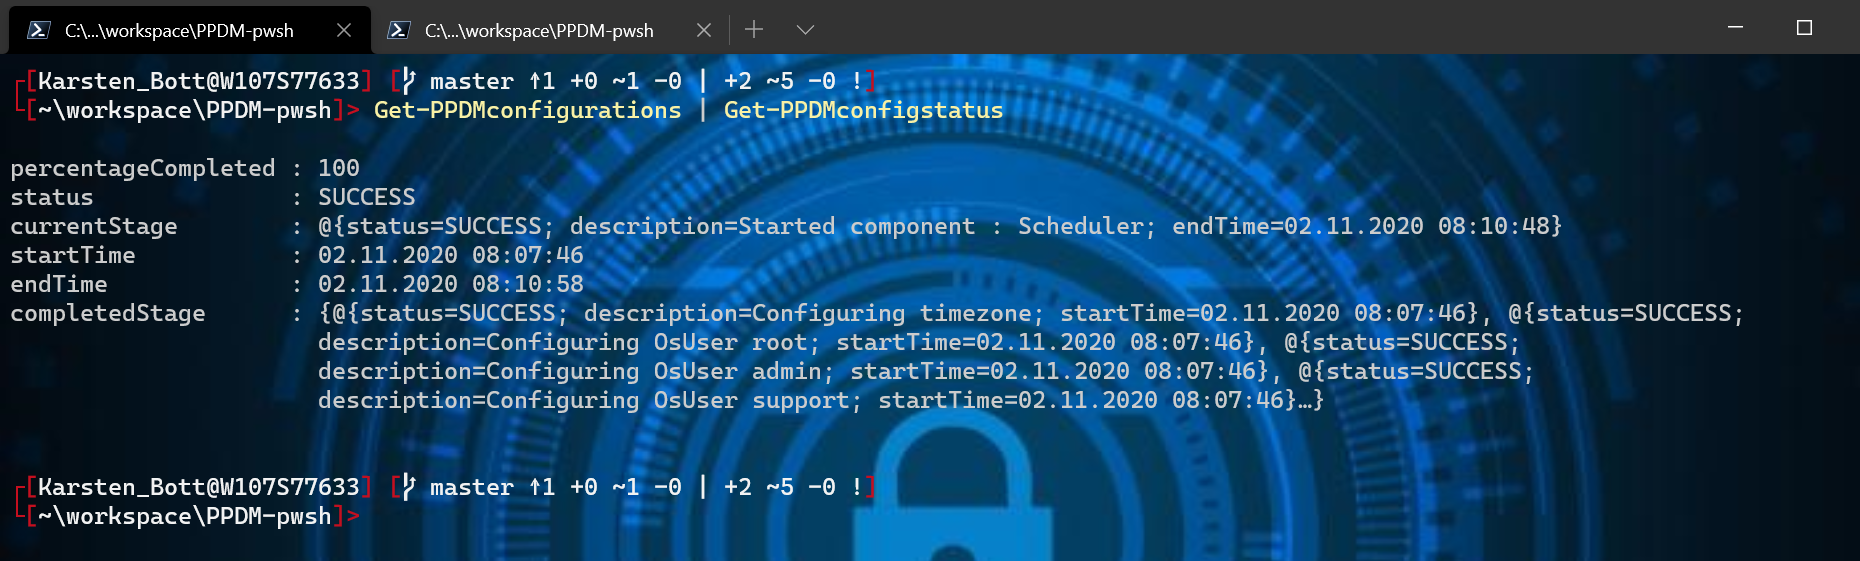
It will take up to 10 Minutes for PPDM to finish. We can Monitor the Success Status with
Get-PPDMconfigurations | Get-PPDMconfigstatusIn an Automation, we would wait for percentageCompleted -eq 100
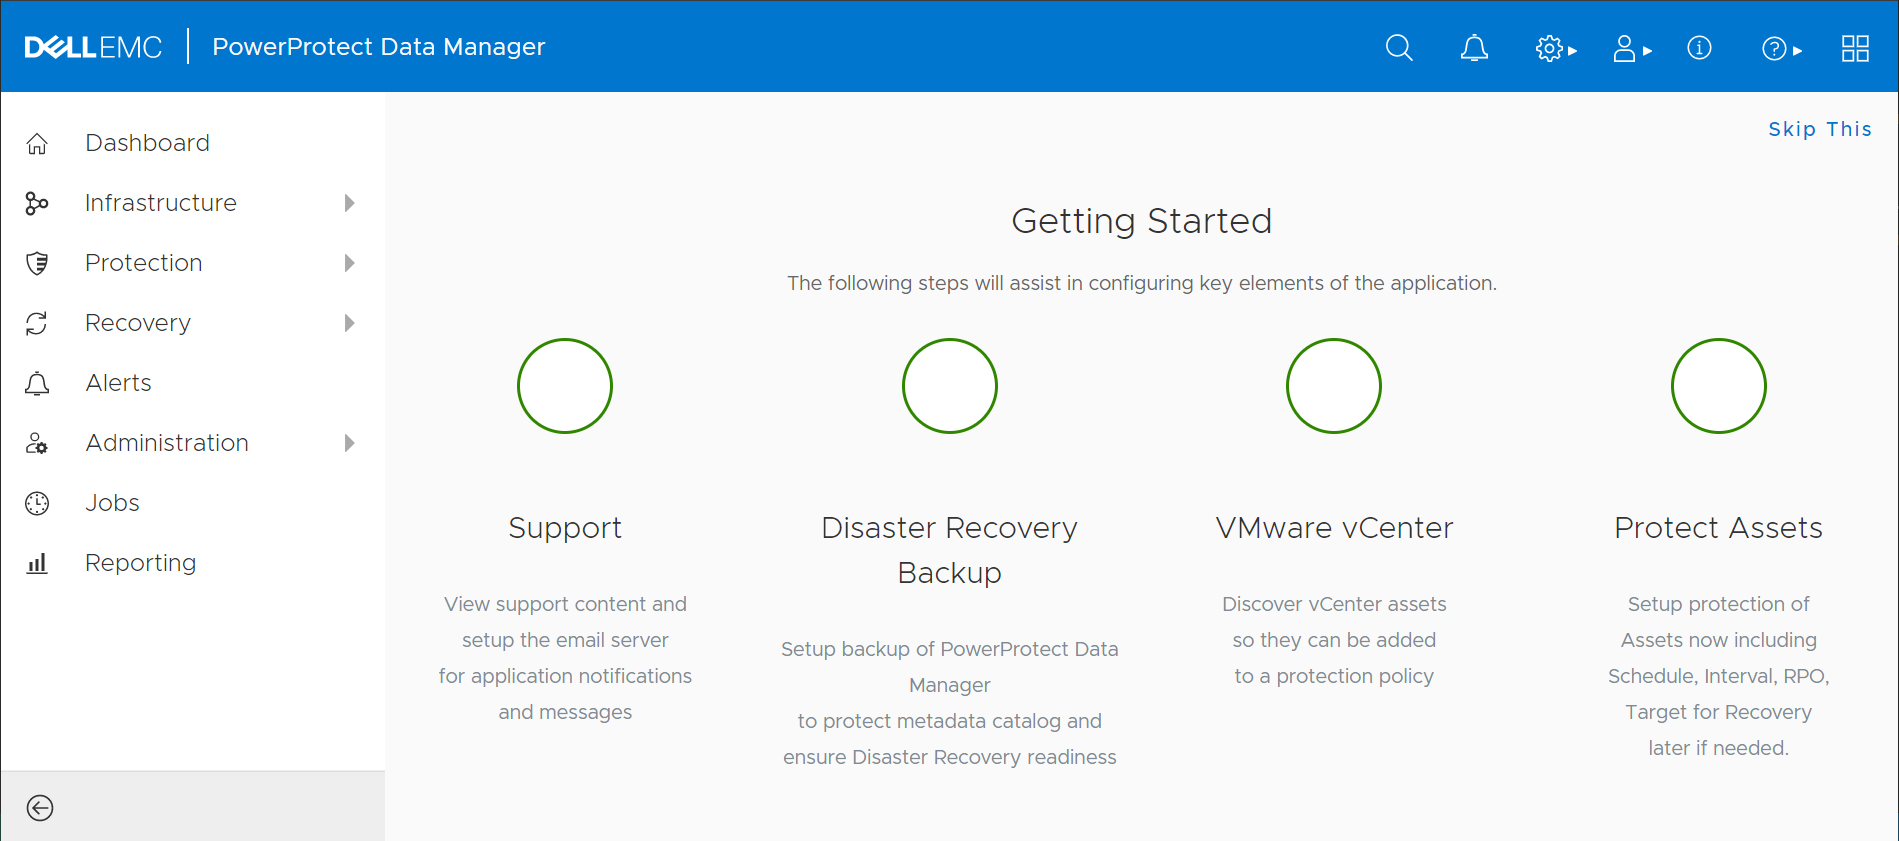
You can now visit the PPDM Homepage from your Webbrowser to configure DataDomain, add a vCenter, add Kubernetes Clusters and more. In my next Post we will do so as well from Powershell … stay tuned